
Today I had my third game of Aramada against Leslie. Thanks to Jason for designing/build the Empire fleet I used. Here are photos of the day with commentary.
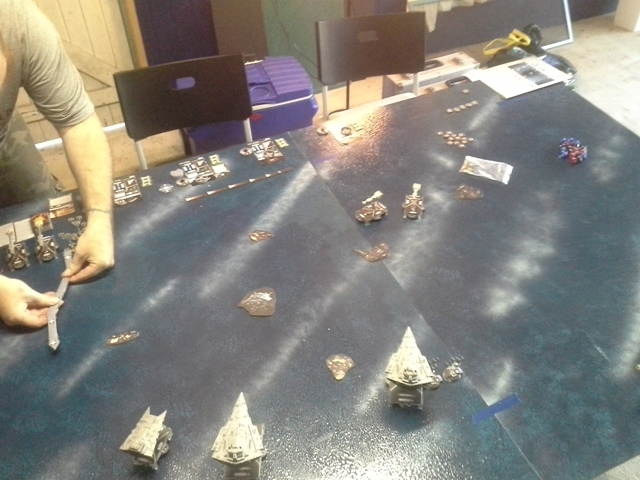 |
| The initial setup and first turn. My brave Admiral chose to expose himself off on my right flank with two Tie Squadrons to "protect" him. |
 |
| OK I admit I don't know how to use my fighter squadron yet. Leslie used his ships to great effect and harassed my ships no end. The Outpost was the victory condition. |
 |
| My Admiral watched in dismay as the fast Rebel ships zipped across the board with impunity. |
 |
| Really feeling the love from Rebel fire power. The "Not the Admiral's Ship" copped a fair amount of abuse, but the repair orders I had the ship constantly on saved his bacon in the end. |
 |
| End game in sight, Darth Vader shuttled across (well that's what I was calling the mission). I reduced the "Not the Admiral's Ship" to 0 speed and sat right next to the objective. Even not being able to use defense tokens allowed the Rebels to destroy it. |
 |
| The end. My "Not the Admiral's Ship" survived thanks to constant repair to shields. It did suffer 3 damage in the end, but no criticals. |
 |
| Admiral Leslie contemplating how the hell I managed a win! |
Highly recommend to those who like Star Wars and space combat, it's up there with X-Wing.
No comments:
Post a Comment